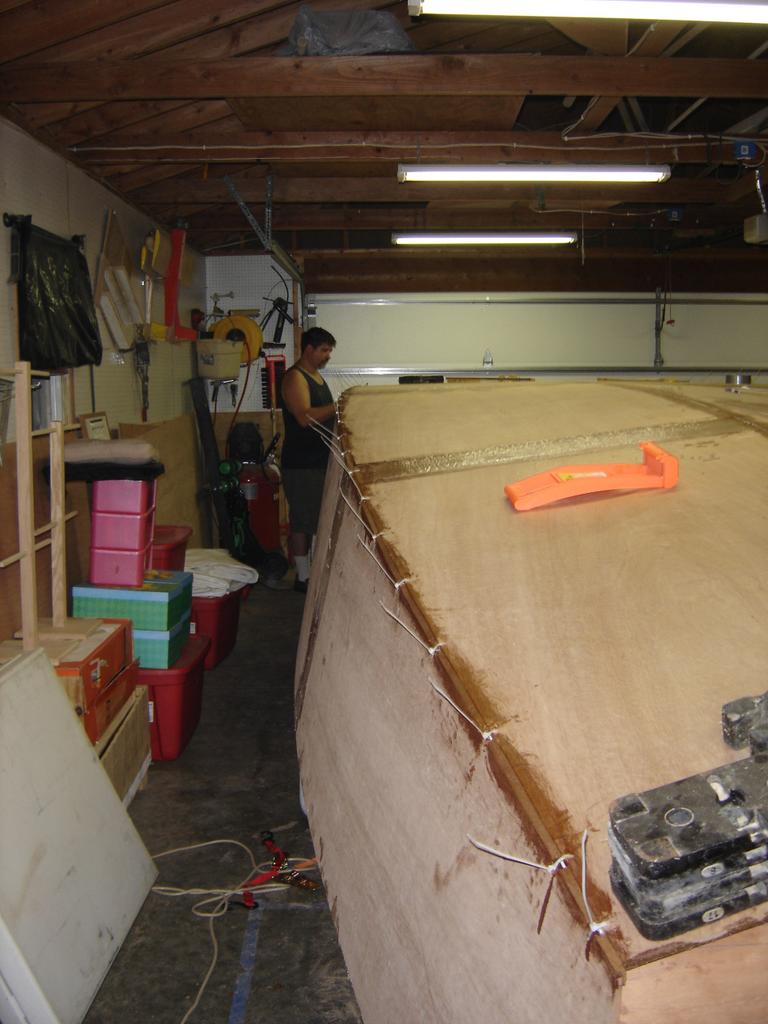
We've finally had an opportunity to get back to work on the boat. The weather was cool, our schedules were clear, so we worked. Last night we spent about three hours tying the hull and filling the gaps with thickened epoxy.
When I said that it had been over three weeks since we'd accomplished anything on the boat, I wasn't completely accurate. I did go over to Greg's place last weekend, and we did the finishing touches on the frame, and test-fitted the bottom hull pieces. As you see in the photo, the hull pieces are too long. They're also a little too wide, and the rear transom is a little too wide, so we're going to have to do a little trimming before we can zip-tie the hull and start glassing the boat.
For a closer look at the overlaps I'm talking about, you can click here for a close-up of the front transom/hull overlap. This link will give a closer view of the overlap along the sides, and this link will give you a better idea of how far off the rear transom is.
The picture Squid's referring to is shown earlier in the blog, but you can click here for a direct link to the picture.
Click here to see the video summary of what we did.
After we got the front transom mounted to the jig, we set the middle stringers in place. Lo and behold, it turned out that we mounted the front transom too far forward. This required us to unmount the front transom from the jig frame and move the whole thing back a few inches. This time though, we were a little smarter. We temporarily set the stringers in place using sawhorses, and redid the whole front transom process mentioned in the previous entry. Now we're good to go on the length of the boat.
Click here to see the video summary of what we did.


